Creating a Simple Product
Adding a simple product using WooCommerce
 Written by RockyThemes
Adding a Simple product is similar to writing a post in WordPress. To view the entire options for creating a product, please visit the official WooCommerce documentation here!
Go to WooCommerce > Products > Add Product.

Enter a product Title and Description as well as a short description in the Short Description textarea.

Go to the Product Data panel, and select Simple product.
In the General tab, enter a Regular price and/or a Sale price if you want to have a product on sale – a Sale badge will appear over the product if the sale price is used.

Under Inventory tab, add a SKU for your product and set the Stock status.

Under Shipping section set the weight, dimensions and shipping class if needed.

Now let’s set at least one Product Image for our product. From the right sidebar -> Product Image -> click on Set Product image and select or upload the image you want to use for your product.

Use the Product gallery -> Add product gallery images to add more images to your product.
Under Product categories, make sure to create a category or use existing categories to fill your product in.

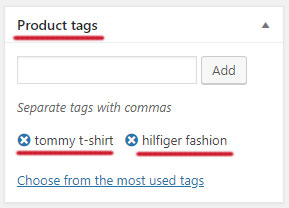
Optionally also add some product tags using the Product tags box.
We are now ready to publish our product. Click the Publish button and view your newly created product.

You should have something similar to the following image:
