Installing, activating and updating Creativo’s Plugins
Installing, activating and updating plugins using the Creativo interface.
 Written by RockyThemes
The Creativo Elements plugins can be installed by going to Creativo -> Plugins tab.
Here you can choose the plugins you want to install. Normally this step is not required if a Creativo Prebuilt Websites is imported.
The import process will do everything needed to make your site look like the selected website, including the installation and activation of the required plugins for that specific website.

On the new page, you will be able to see the available plugins that can be installed for Creativo. Included plugins area:
- Elementor Free
- Creativo Elements
- LayerSlider
- Revolution Slider
- WP Bakery Page Builder
- Contact Form 7
- Mailchimp for WP
- The Events Calendar
- WooCommerce

Installing Plugins
Depending on the Prebuilt Creativo Website imported – if any was imported – some of the plugins listed here will not be installed.
Remember that each Prebuilt Creativo Website requires only certain plugins, not all of them installed.
If for example a Prebuilt Creativo Website does not use Revolution Slider plugin, but we want to use it, all we have to do is hover the mouse over the Revolution Slider plugin and hitting the Install button.
The latest version available of the plugin will be installed and activated so we can start using it.
Updating Plugins
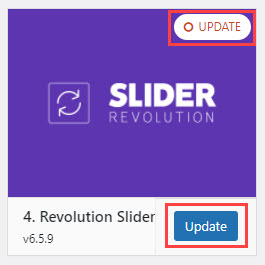
Plugins that need an update will appear with the Update mark over them – similar to Slider Revolution in the image above.
Hover your mouse over the plugin that has an update available and hit the Update button to perform the update.
Repeat this step for all plugins that require an update.