How to create a Gradient Background
Creating a Gradient Background using the Page Builder
 Written by RockyThemes
To create a Gradient Background, first edit your page using the Front End Editor and add a Row element on your page – or edit an existing Row element.
In the Design Options tab, add a padding top and padding left. Try using percent values, to keep the same padding regardless of the device being used – mobile or desktop. E.g: 10% for top padding and 10% for bottom padding.

Next navigate to the Color Overlay tab and check the Enable Gradient option.
Choose the colors you want to use for the Gradient using the Color Overlay option and Color Overlay 2 option.
Use the Gradient Angle to specify the angle of the gradient being applied.

Play around with the colors and the gradient angle until you are satisfied with the result.

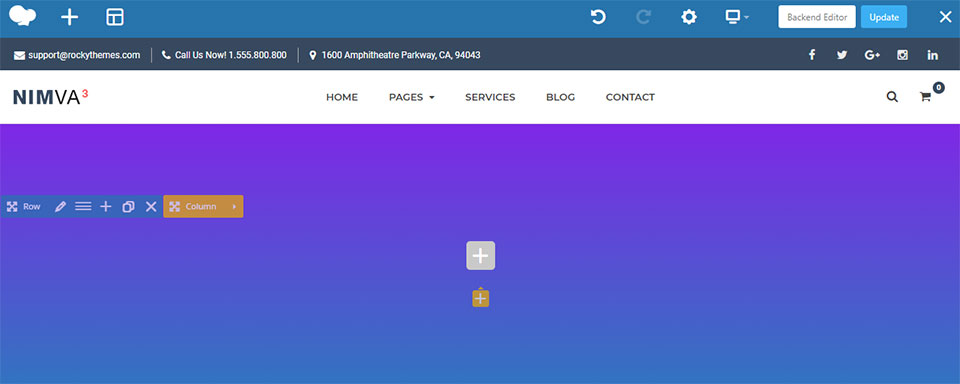
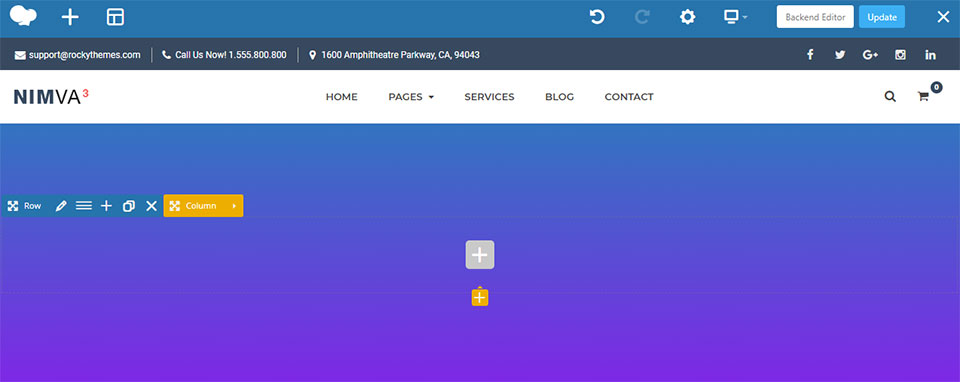
In the example above the gradient is using the default 90 degrees angle with a blue color set for Color Overlay and a violet color set for Color Overlay 2.
Setting the gradient angle to 0 or 180 degrees will rotate the gradient with the corresponding degrees, as seen below:
We can also add a background image in the Design Options tab and set the Gradient colors to be slightly transparent. This will create a nice mask with Gradient effect over our image.

After setting the background image, go back to the Color Overlay tab and use the Alpha controller to change the opacity of the Color Overlay and Color Overlay 2. The values we used are 75% for both color overlays.

The result is going to be the following:
